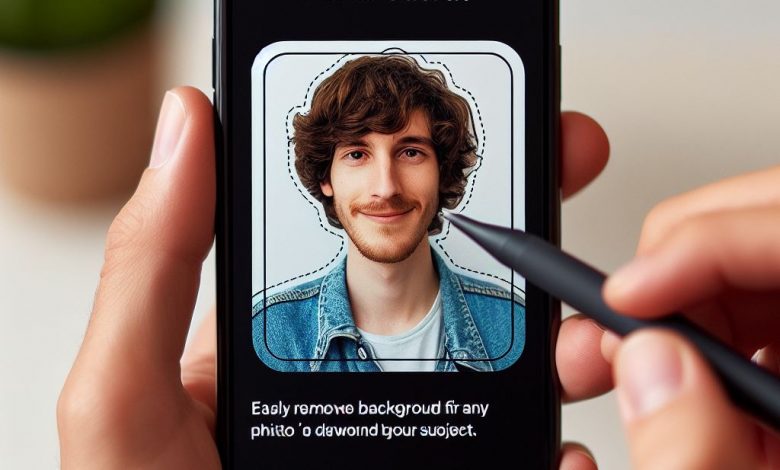
Ever wanted to add a playful image to a background or create a funny mashup? With iOS 16, iPhones got a cool new feature called “Photo Cutout” that lets you easily isolate (not copy the entire picture) a subject from one picture and paste it onto another.
Method 1: Using InShot App
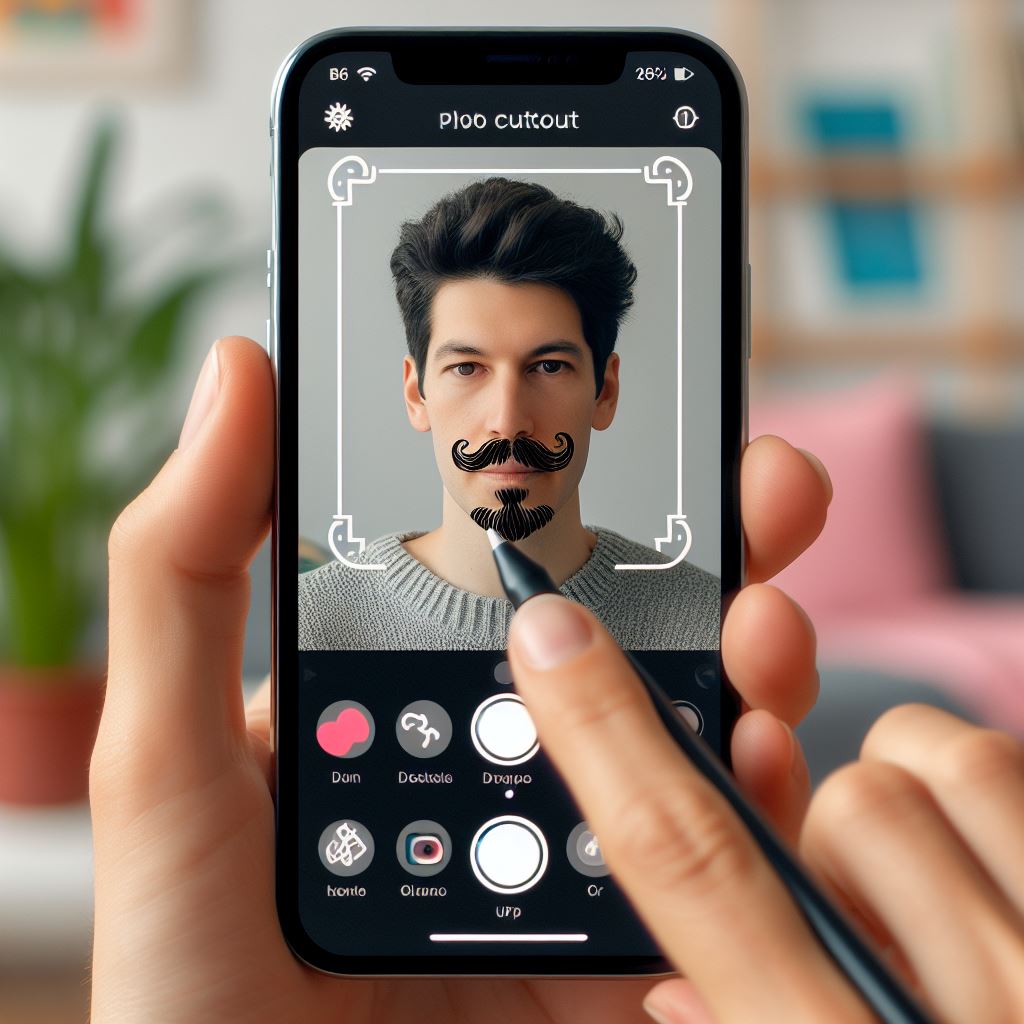
InShot app allows you to easily add one image on top of another, perfect for creating photo collages or funny mashups. This free application is a powerful tool for image editing and manipulation.
Here’s a step-by-step guide:
- Opening the App: Once installed, open the InShot app. You will see a ‘Photos’ button under the ‘Create new’ section. Tap on it, and then tap ‘New’ on the subsequent screen.
- Choosing the Background Image: Now, select the image that you want to use as the background. If the app has added a frame or canvas to your picture, you can remove it by tapping on ‘Canvas’ at the bottom and selecting ‘No frame’. Confirm your selection by tapping the checkmark icon.
- Adding a New Image: Next, tap on ‘Stickers’ and then the ‘Gallery’ icon. This will allow you to add another image on top of the background image.
- Importing the Image: You can add a regular image or create a photo cutout (where the app automatically removes the background of the foreground picture). To add a full-sized image, tap on the ‘+’ (Add) icon under the ‘Imported’ section and select ‘Files’ or ‘Choose from camera roll’ based on where your image is stored. Then, choose the picture that you want to add and tap on it. It will appear in the ‘Imported’ section.
- Creating a Photo Cutout: If you want to remove the background of the foreground photo and add it as a sticker, tap on the ‘Photo cutout’ button. Then, choose the storage location of the image from ‘Files’ or ‘Choose from Camera roll’. Select the image and it will appear in the ‘Imported’ section.
- Superimposing the Image: Once the picture or photo cutout appears in the ‘Imported’ section, tap on the desired picture to add it on top of the background picture. You can resize or reposition the picture using the double-sided arrow on the picture. Confirm your edits by tapping the checkmark icon at the bottom.
- Saving the Image: Finally, tap on the ‘Share’ icon at the top to save the image that has been superimposed with another image. You can find the newly created image in the Photos app.
Method 2: Using iOS 17 Photo Cutout Feature
Although this feature is not available in iOS 16, it’s worth mentioning that iOS 17 introduced a new feature called Photo Cutout, which allows you to cut and paste images. This feature requires iPhone XS and XR with an A12 Bionic chip or later, which goes back to the 2018.
1. Getting Started: Separating Your Subject
- Open the Photos app and choose the picture containing the object you want to copy (isolate).
- Find your subject! This could be a person, animal or anything you want to isolate.
- Tap and hold on your chosen subject. A white outline will appear around it. This lets you know iOS has identified the foreground element.
2. Copying the Cutout
Once you see the white outline, a small menu will pop up. Look for the option “Copy.” Tap on “Copy.”
3. Bringing it All Together: Pasting Your Cutout
- Now you have your subject copied and ready to paste! Open the second picture where you want to add your cutout. This could be another photo in your library, a new note, or even a message draft.
- Tap where you want your copied subject to appear in the second picture.
- Just like copying text, you’ll see familiar options. Look for the “Paste” button and tap it.
Voila! Your copied subject (isolated object) should now be pasted onto your second picture. You can use your fingers to move and resize the pasted cutout to get the perfect placement.
Bonus Tips:
While this feature works great for well-defined subjects, it might not always create a perfect cutout for complex backgrounds or hair. Don’t be discouraged! Sometimes a little manual fine-tuning with editing tools can improve the results.
Photo Cutout also works in other apps! Try tapping and holding on a subject in Safari or Messages to see the “Copy” option appear.
For even more editing fun, use built-in Photos tools to adjust brightness, contrast, or add filters to your newly created photo mashup!
Troubleshooting Tips:
If you’re having trouble getting the white outline to appear around your subject, try zooming in or adjusting the lighting in the photo. If all else fails, you may need to use editing tools to manually select the area you want to cut out.
Updates and Changes: As iOS updates are released, features can change. For the most current information about the “Photo Cutout” feature, check Apple’s official website or the latest iOS release notes.
Alternative Apps or Features:
If the “Photo Cutout” feature doesn’t meet your needs for more advanced editing, consider trying out some alternative apps like Adobe Photoshop Mix or Pics Art, which offer similar functionality for creating photo collages or merging images.
With a little practice, you’ll be a pro at using Photo Cutout to create unique and engaging iPhone photos. Happy cutting, copying, and pasting!
Additional Notes:
While Photo Cutout is a great tool, it’s important to clarify that it doesn’t directly copy and paste entire pictures. It excels at isolating the subject for further use in other editing applications.”