How to Screen Record on iPhone
Screen recording on an iPhone is an incredibly versatile feature that lets you capture on-screen activity easily, from gameplay highlights to step-by-step tutorials. In this guide, we’ll walk you through screen recording on all iPhone generations, from the iPhone 7 to the iPhone 15 Pro Max. We’ll also explain how to enable sound, add screen recording to your Control Center, and answer frequently asked questions to help you make the most of this powerful tool.
Key Takeaways
- iPhones running iOS 11 or later have built-in screen recording functionality.
- You can record both video and audio with the screen recording feature.
- Screen recording can be added to your Control Center for easy access.
- This guide covers instructions for various iPhone models, from the iPhone 7 to the iPhone 15 Pro Max.
How to Screen Record on iPhone: For All Models
Although screen recording steps are similar across iPhone models, accessing the Control Center differs slightly between newer and older versions.
Steps to Start Screen Recording on iPhone
1. Open Control Center:
- iPhone X and newer (including iPhone 15, 14, and 13): Swipe down from the upper-right corner.
- iPhone SE, 8, 7, and earlier models: Swipe up from the bottom.
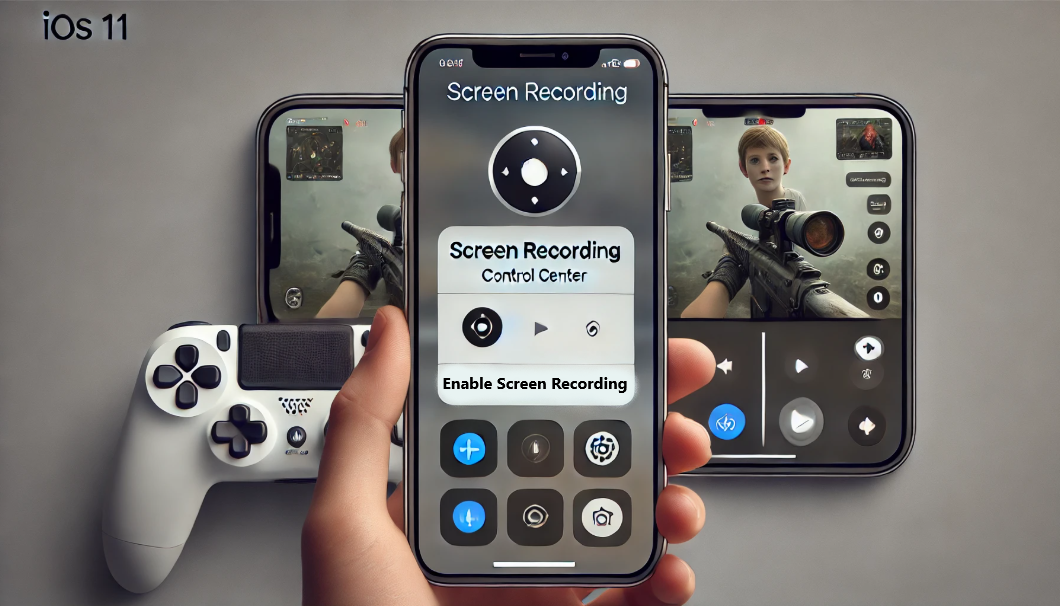
2. Tap the Screen Record Icon: Look for a circular icon with a dot in the center. If you don’t see it, add Screen Recording to your Control Center (instructions below).
3. Optional – Enable Sound:
- For audio, press and hold the screen recording icon.
- Tap Microphone On to capture external sounds along with the video.
4. Start Recording: Tap Start Recording and a countdown will appear on-screen.
5. End Recording: To stop, tap the red status bar at the top of your screen or return to Control Center and tap the screen recording icon.
Your screen recording is saved automatically in the Photos app.
How to Screen Record on Specific iPhone Models
The setup for screen recording may vary slightly by iPhone model. Here’s a breakdown:
iPhone 15, iPhone 15 Pro Max, and iPhone 15 Pro
- Control Center Access: Swipe down from the top right.
- Audio: Hold the icon and toggle the Microphone On.
- Recording: Tap Start Recording and stop by tapping the red bar or revisiting Control Center.
iPhone 14, iPhone 14 Pro Max, and iPhone 14 Plus
- Control Center Access: Swipe down from the upper-right corner.
- Audio: Press and hold the Screen Record icon to enable the Microphone.
- Recording: Tap the red bar or return to Control Center to stop.
iPhone 13, iPhone 13 Pro Max
- Control Center Access: Swipe down from the top-right corner.
- Audio: Enable sound by holding the icon and toggling the Microphone.
- Recording: Tap the red status bar to end.
iPhone 12, iPhone 11, and iPhone XR
- Control Center Access: Swipe down from the upper right.
- Audio: Long-press to enable Microphone On for sound.
- Recording: Tap the red status bar or return to Control Center to end.
iPhone SE (2nd Gen), iPhone 8, iPhone 7
- Control Center Access: Swipe up from the bottom edge of the screen.
- Audio: Press and hold the icon to enable Microphone On.
- Recording: Tap the red status bar to end.
Adding Screen Recording to iPhone Control Center
If you don’t see the Screen Recording option in the Control Center, add it by following these steps:
- Go to Settings > Control Center.
- Tap Customize Controls (or Control Center in recent iOS versions).
- Scroll to find Screen Recording and tap the green plus icon to add it.
Once added, the Screen Recording icon will always be in your Control Center for easy access.
How to Screen Record with Sound on iPhone
For recordings that include external audio:
- Open Control Center and long-press the Screen Recording icon.
- Tap Microphone On to enable audio recording.
- Tap Start Recording. Both screen activity and external sounds will be captured.
Recording FaceTime with Sound on iPhone
You can also record FaceTime calls along with sound. Here’s how:
- Open Control Center and hold the Screen Recording icon.
- Toggle Microphone On to capture both sides of the conversation.
- Start your FaceTime call and then tap Start Recording.
This feature is ideal for capturing conversations or saving call information for reference.
Setting Up Screen Recording on iPhone
If you’re new to Screen Recording, set it up in Control Center for quick access:
- Go to Settings > Control Center.
- Look for Screen Recording under More Controls.
- Tap the green plus to add it.
Once added, Screen Recording will be available whenever you open the Control Center.
Frequently Asked Questions
1. How Do I Record My Screen on iPhone?
To record, open Control Center, tap the Screen Recording icon and choose Start Recording. To end, tap the red status bar.
2. Can I Record FaceTime Calls with Sound on My iPhone?
Yes, by enabling the Microphone option in Screen Recording settings, you can record FaceTime calls with audio.
3. Why Isn’t My Screen Record Icon Visible?
If it’s missing, go to Settings > Control Center and add Screen Recording manually.
4. Can I Edit Screen Recordings on My iPhone?
Yes! After recording, open your video in the Photos app, tap Edit, and adjust it by trimming, filtering, or cropping.
Conclusion
Screen recording on the iPhone is a practical feature that enhances how you share and save information. No matter which iPhone model you have, the process is user-friendly and flexible. By following these instructions, you can effortlessly screen record on your iPhone, capture FaceTime calls with sound, and access your recordings in the Photos app.
Read More:-


