A disabled iPad can be frustrating, especially if you can’t remember your passcode. Luckily, iTunes can help you regain access to your device. However, it’s important to understand that this process will erase all data on your iPad unless you have a recent backup.
Here’s a detailed guide on how to connect your disabled iPad to iTunes and restore it:
Before You Begin:
- Make sure you have the latest compatible version of iTunes installed on your computer. You can download it from Apple’s website https://www.apple.com/itunes/.
- Have your iPad charging cable readily available.
Steps to Connect a Disabled iPad to iTunes

Here are the steps to connect your disabled iPad to iTunes and restore its functionality:
- Connect the iPad to the Computer: Use a USB cable to connect your disabled iPad to your computer.
- Open iTunes/Finder: If you’re using a Mac running macOS Catalina or later, open a Finder window. Open iTunes on a Mac or PC running macOS Mojave or earlier.
- Turn off the iPad: If you can, turn off your iPad. For iPads without a Home button, press and hold Volume Down and the top button. For iPads with a Home button, hold down both the round Home button and the top button on the side at the same time. Keep holding them until you see a slider appear on the iPad screen. Slide the slider to turn off your iPad..
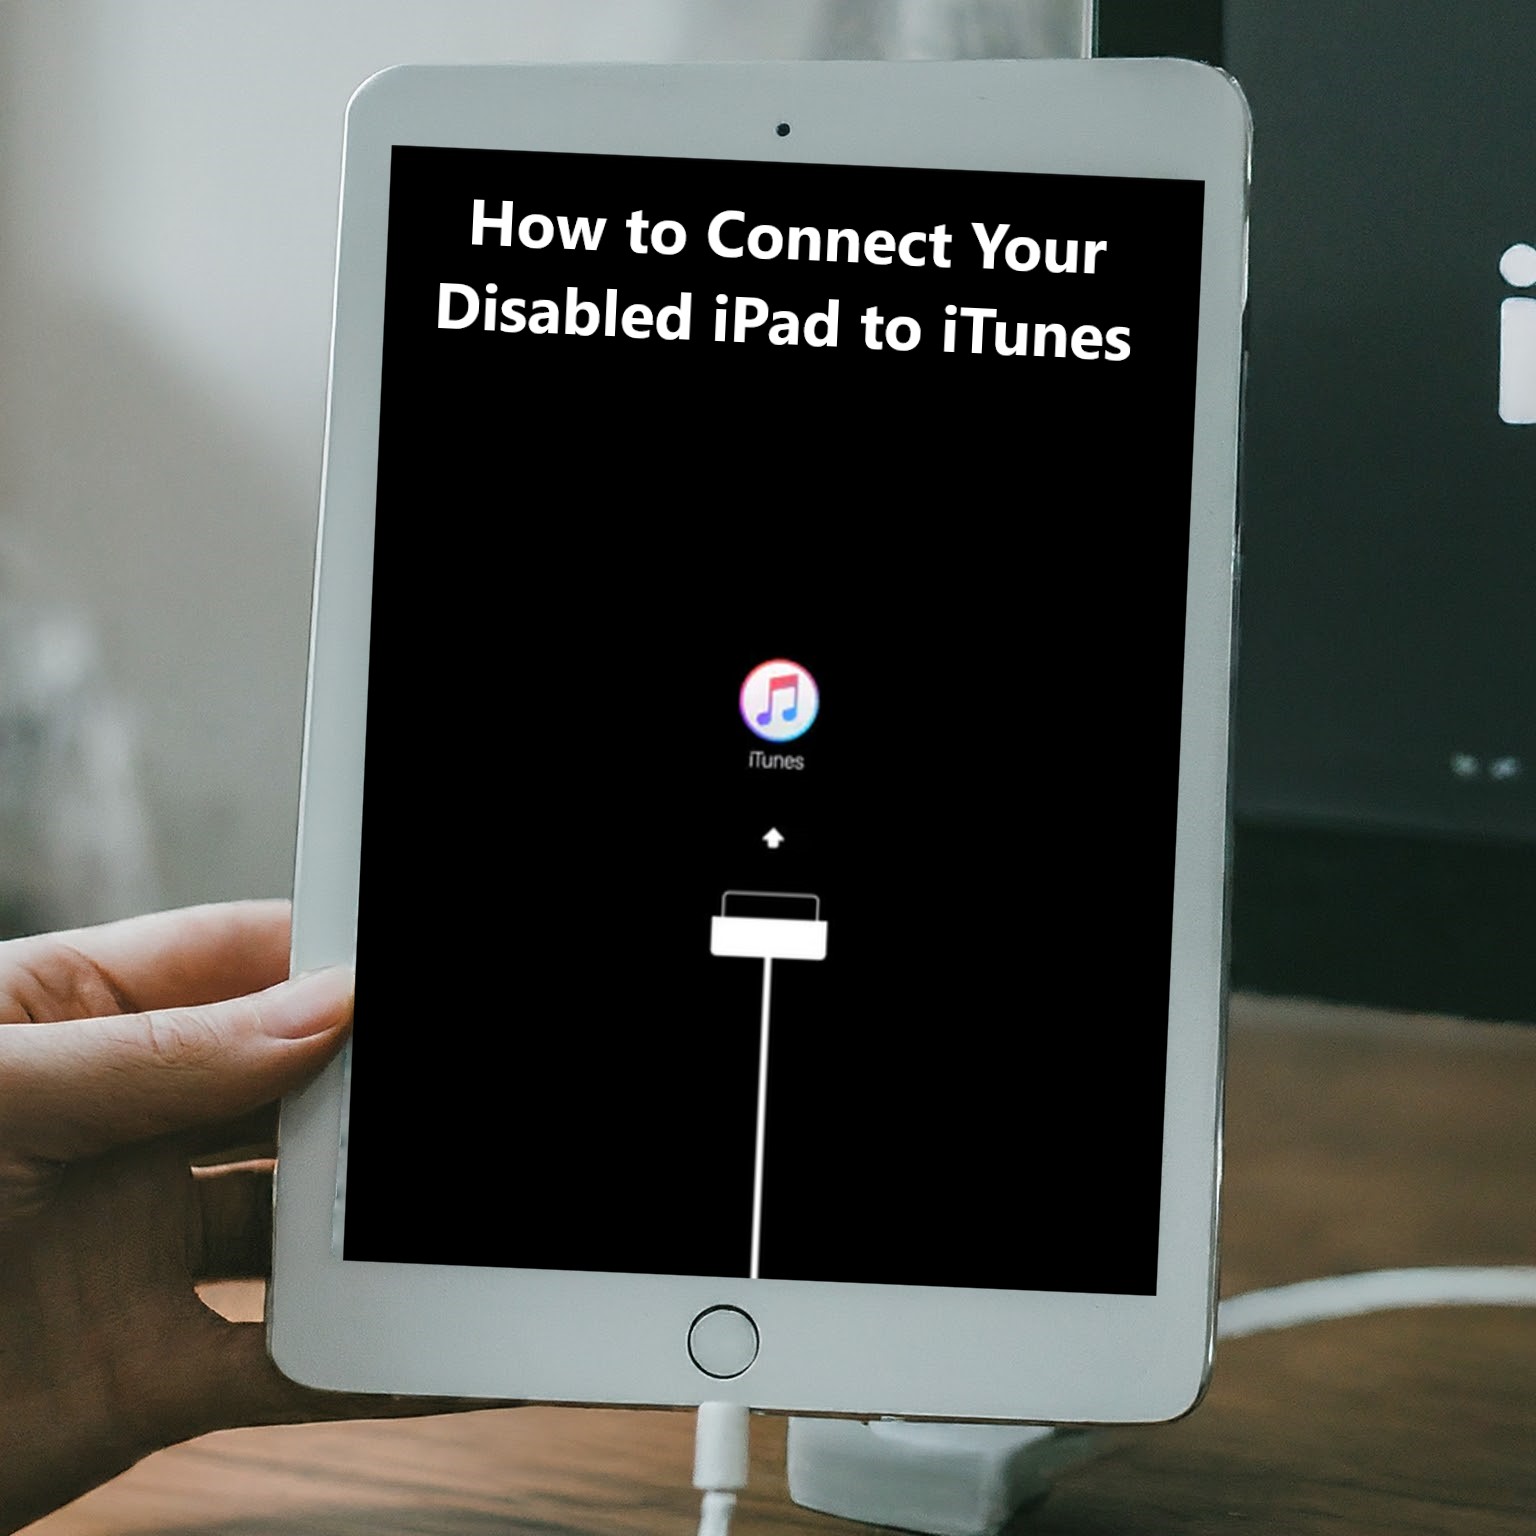
- Put the iPad into Recovery Mode: For iPads with a Home button, press and hold the Home and top (or side) buttons at the same time. For iPads without a Home button, press and release Volume Up, press and release Volume Down, and press and hold the top button. Keep holding the buttons until the Recovery Mode appears on the iPad.
- Restore the iPad: Click on your iPad icon on the left sidebar (for Mac) or on the top left (for Windows). Then click on ‘Restore iPad’. Wait for the restore process to complete.
- Set Up the iPad: Once the process is finished, you can set up your iPad as new or restore it from a backup.
Important Notes:
- Restoring your iPad will erase all your data and settings. If you have a recent backup in iTunes or iCloud, you can restore your data after the process is complete.
- The restore process can take some time, depending on your internet connection speed.
- If you encounter any errors during the restore process, refer to Apple’s support website https://support.apple.com/ipad for troubleshooting steps.
Alternative: Using iCloud to Erase Your iPad (if Find My iPhone is Enabled)

If you have Find My iPhone is enabled on your iPad, you can remotely erase it through iCloud. This method also requires you to set up your iPad again afterwards. Here’s how:
- Go to iCloud.com on your computer and sign in with your Apple ID.
- Click on “Find My iPhone.”
- Select “All Devices” and choose your iPad from the list.
- Click on “Erase iPad” and confirm your choice.
Data Recovery (Optional):
Once your iPad is restored, you can attempt to recover your data from a recent backup if you have one. Here’s how to do it in iTunes:
- Connect your iPad to your computer and open iTunes.
- In the top left corner of iTunes, select your iPad icon.
- Click on “Restore Backup” and choose the most recent backup you want to restore.
By following these steps, you should be able to connect your disabled iPad to iTunes, restore it, and (optionally) recover your data from a backup. Remember, restoring your iPad erases all data, so make sure you have a recent backup before proceeding. If you encounter any difficulties, refer to Apple’s support resources for further assistance.

